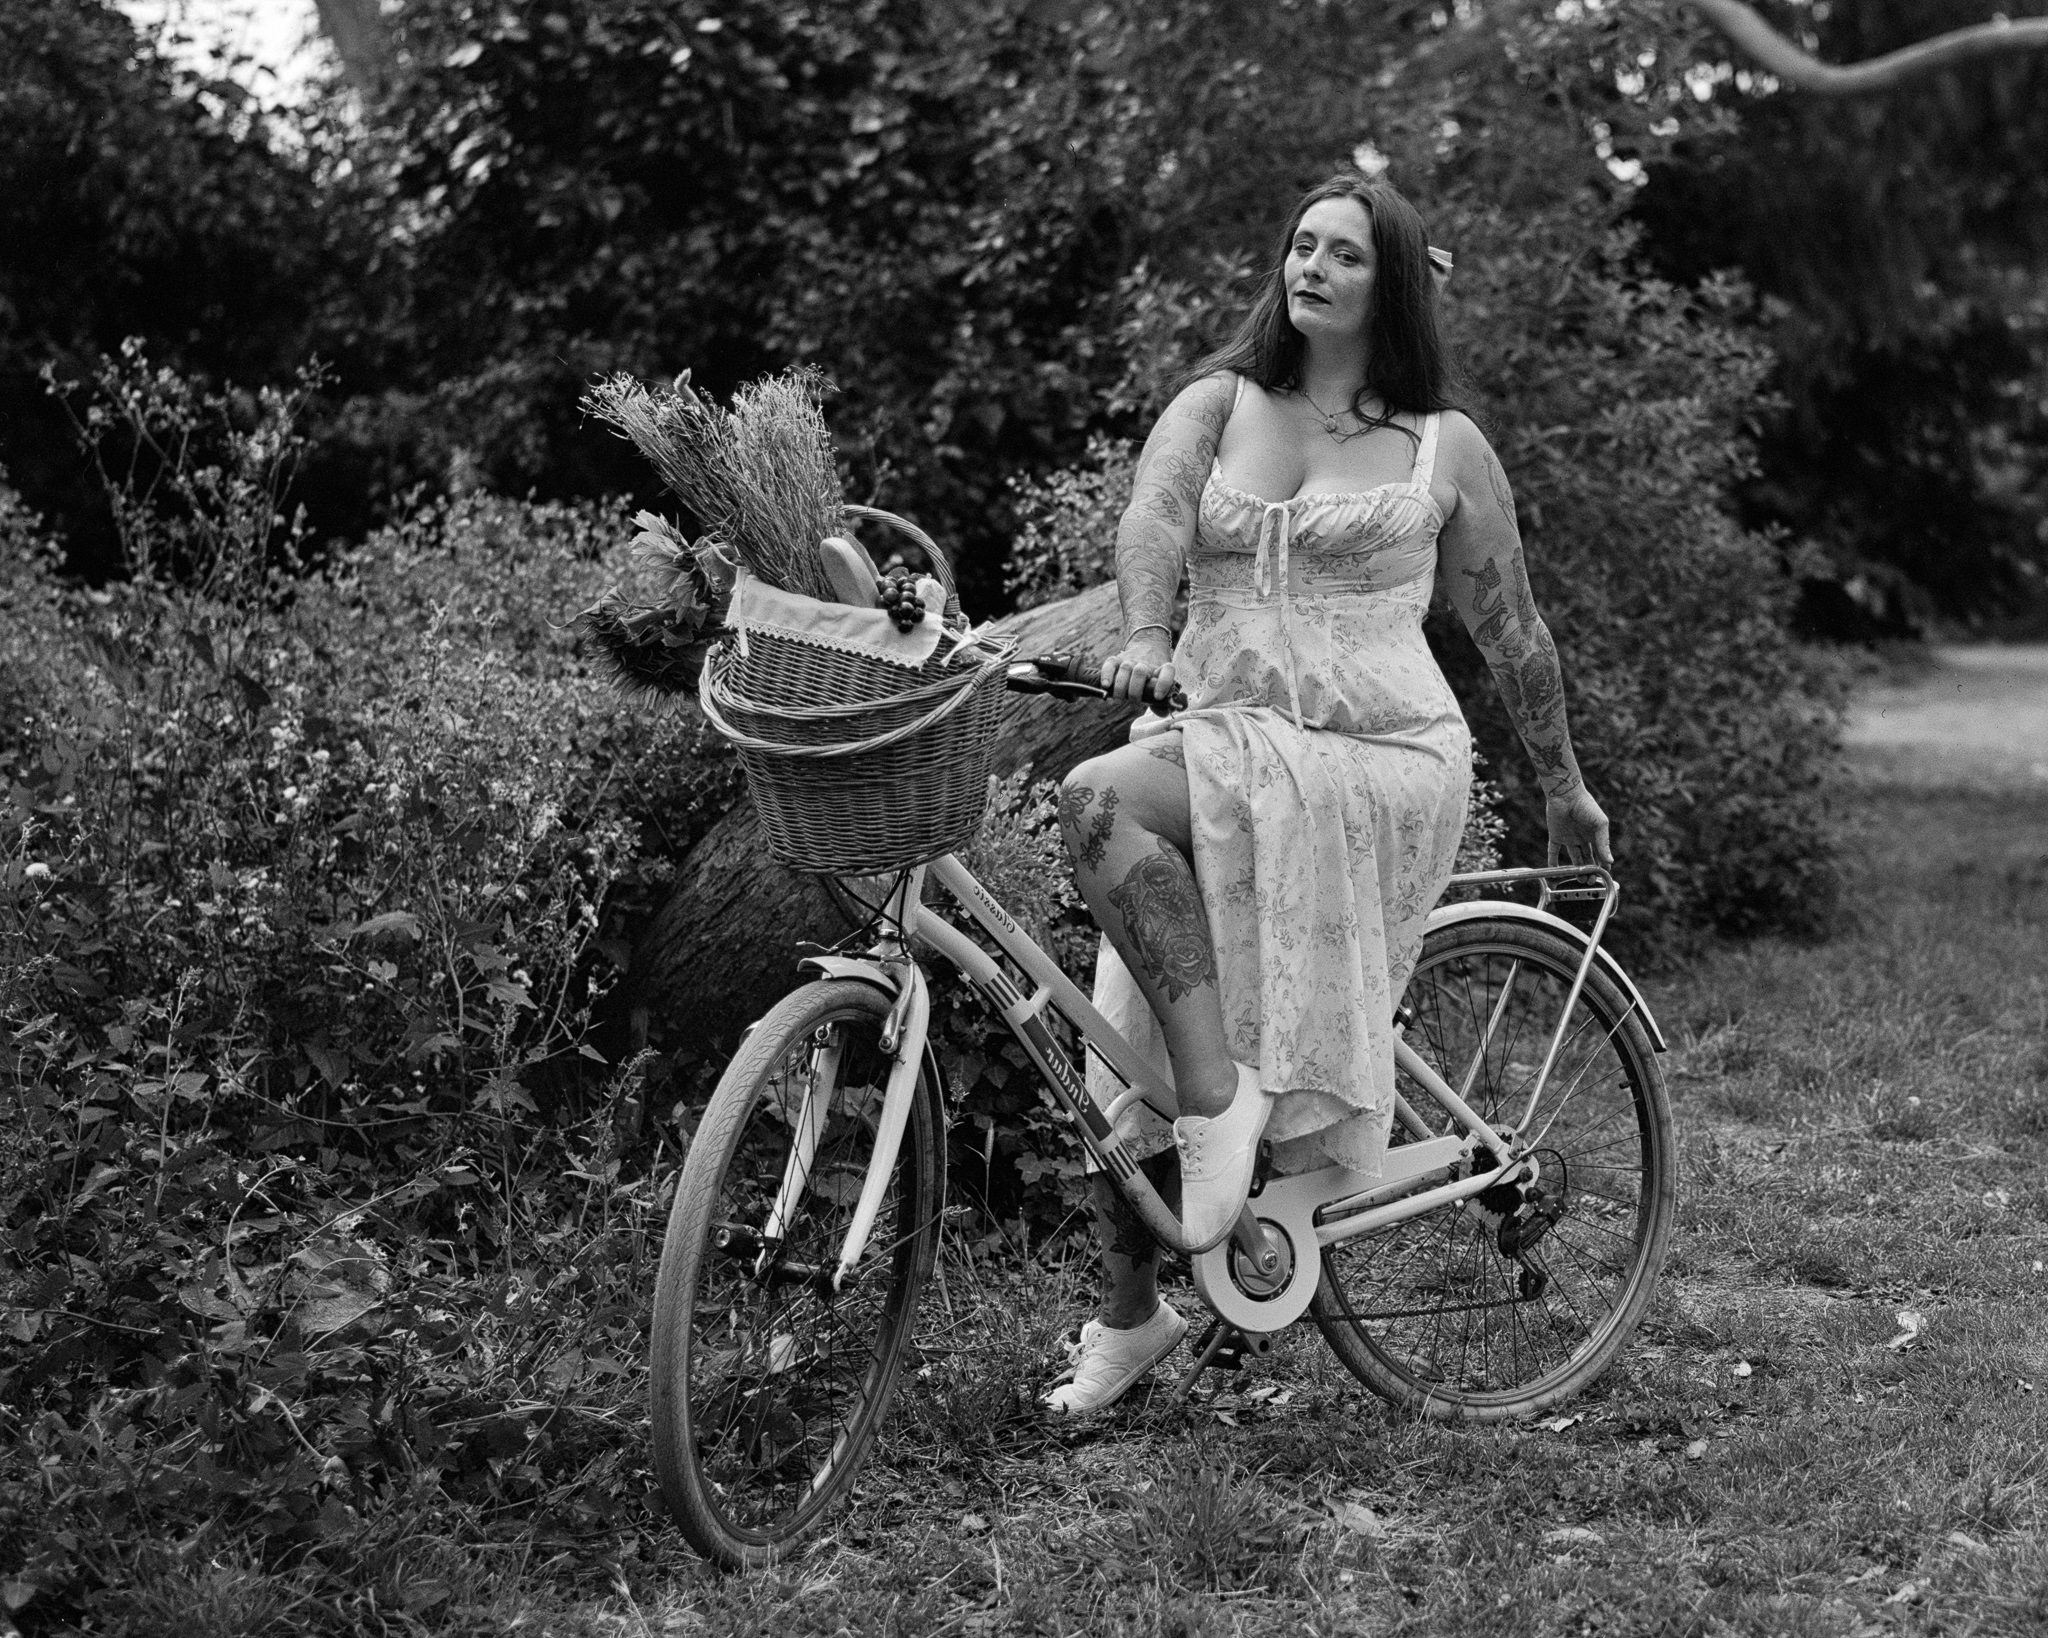
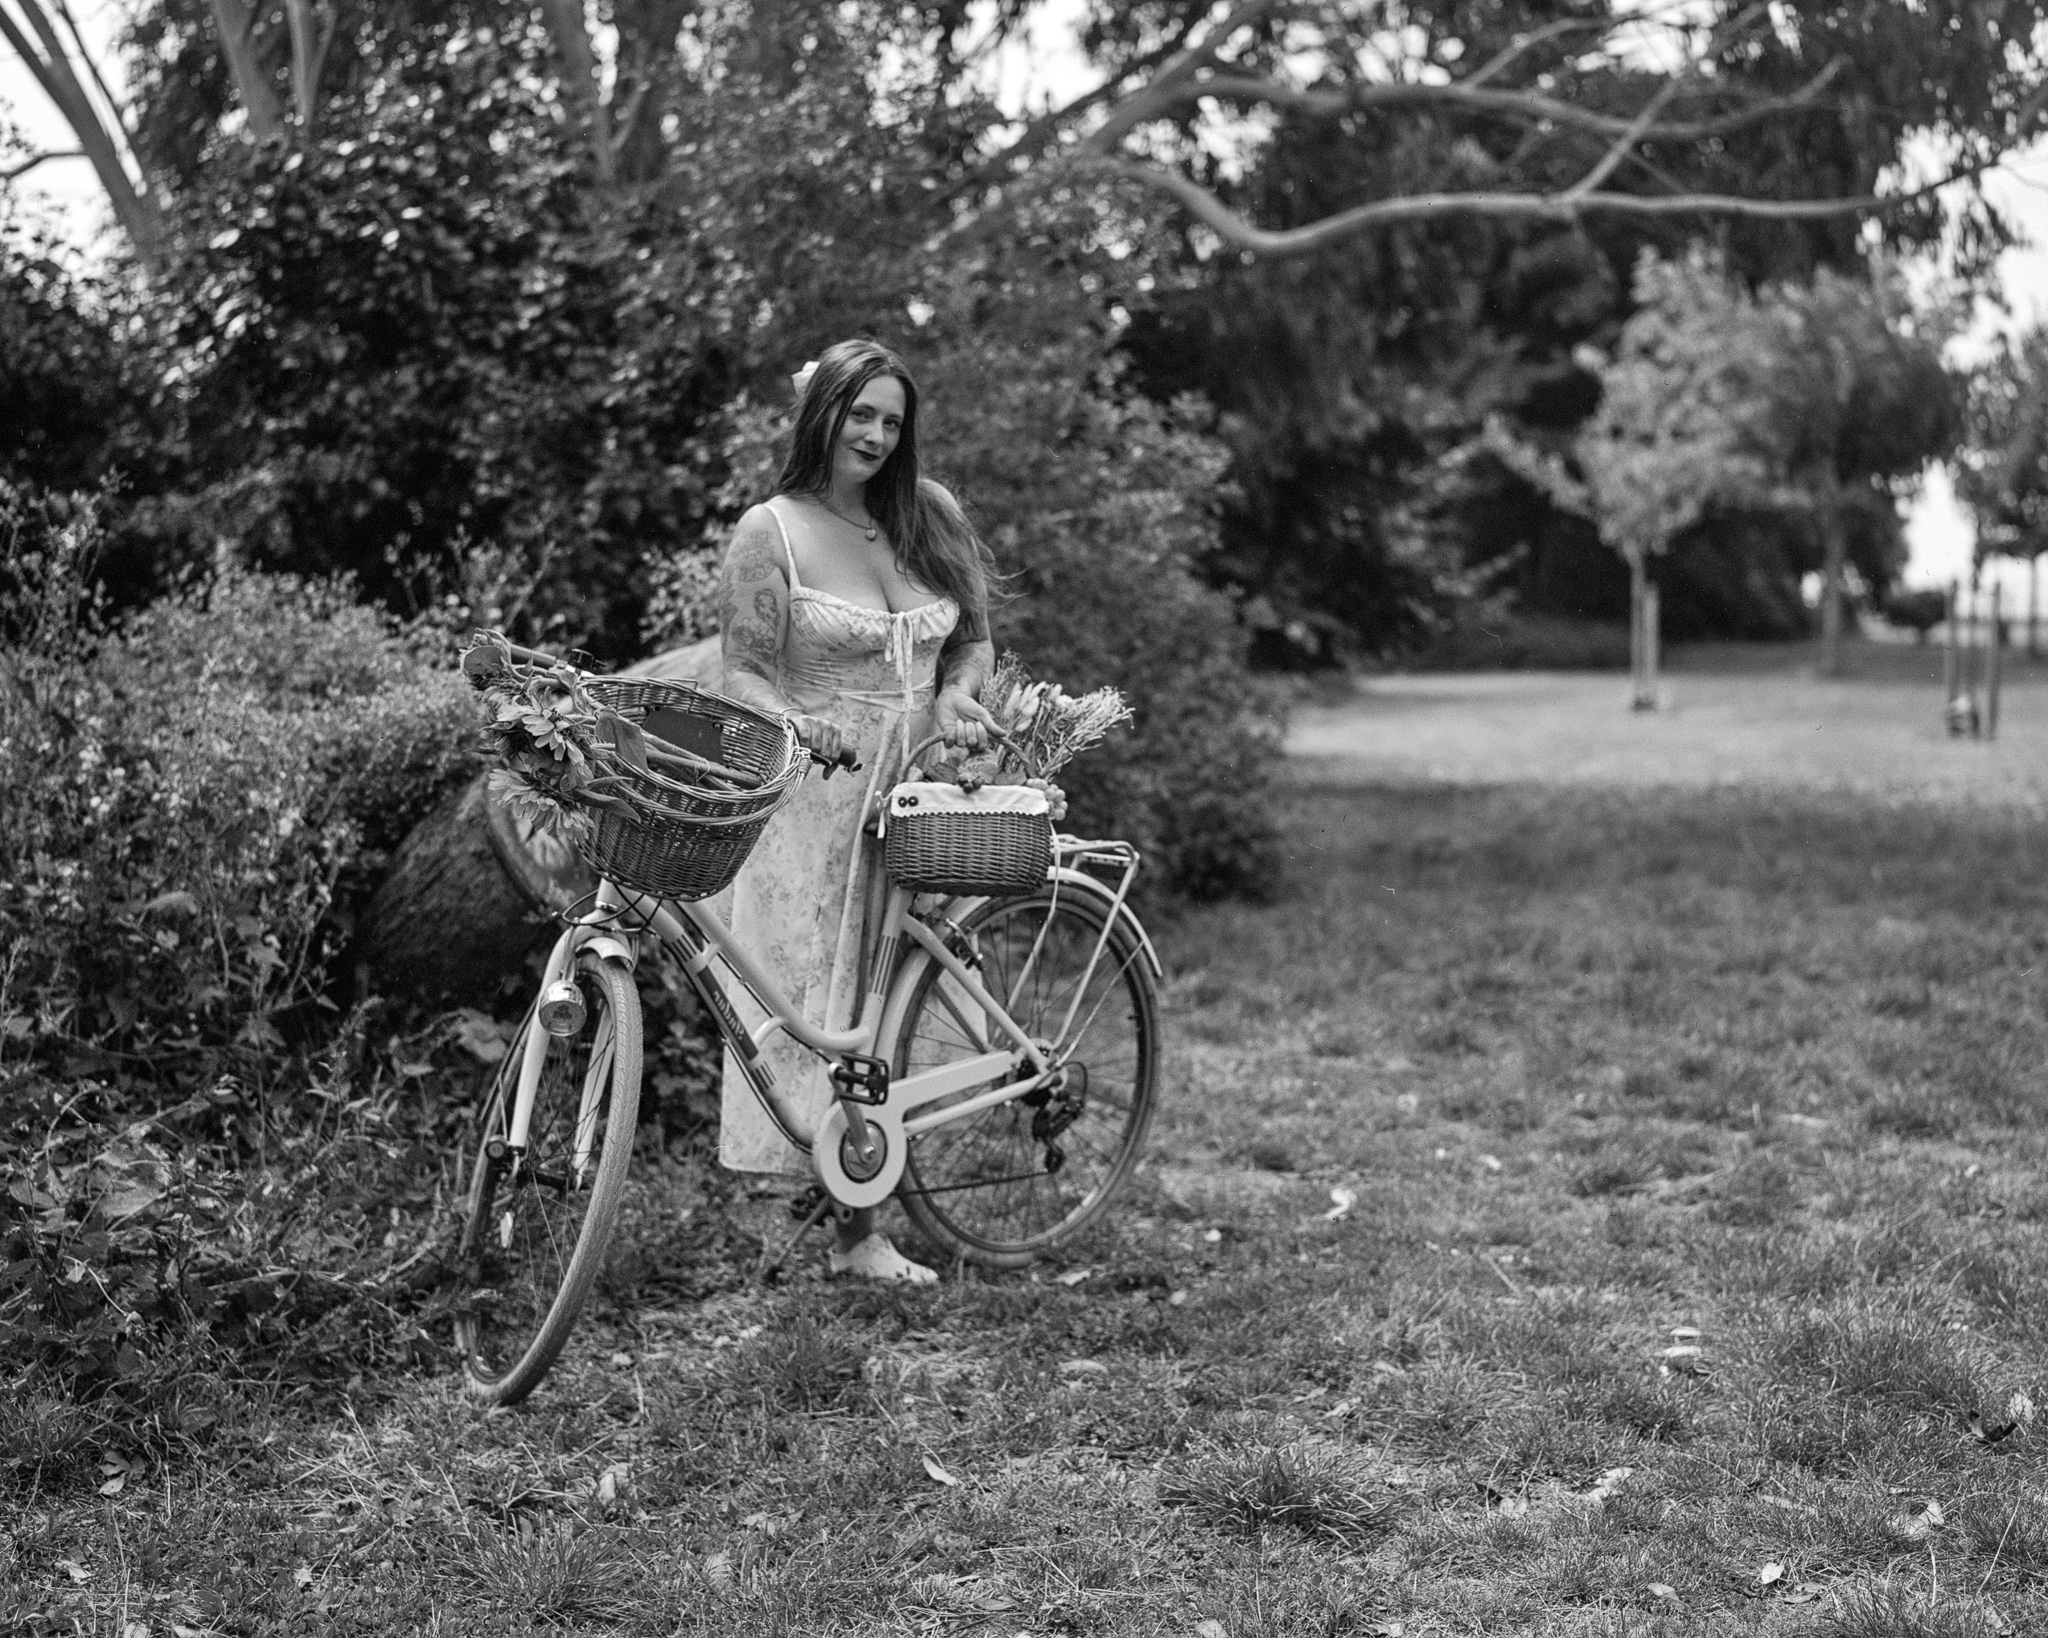
Have you ever complained that film photography is too convenient and not expensive enough? Well, you are in luck my friend! Let me introduce you to the wonderful world of large format cameras.

As the name suggests, large format cameras create larger negatives than medium format cameras. Typically this goes from 5×4″ up to well, pretty much any size you care to imagine. The sky is (almost) the limit. Typically large format cameras are either 5×4″ or 10×8″, although many manufacturers made cameras to use wildly different film sizes – I almost bought an 18x24cm Soviet camera in Kyiv. A variety of metric sizes were available before the market mostly settled on 5×4 and 8×10 inch standards.
Film in these sizes does not come in a convenient roll, it comes in sheets, and must be loaded into holders in order to be used. if you are shohhting some non-standard frame sizes, it also means that you can buy larger sheets and cut them down to size. Some film manufacturers produce limited runs of very large sheets every year specifically for this market.
My Super Speed Graphic is a 5×4″ camera. Specifically it’s a 5×4 view camera. Even more specifically, it’s a 5×4 press camera, made in 1962 by Graflex in Rochester, New York (which coincidentally was also the home of the Kodak corporation).


Press cameras were, as the name suggests intended to be used by press photographers. If you’ve ever watched a film from, or set in the 1950s or 60s, where someone important gives a public speech, the cameras you’ll see the press gaggle carrying in that scene are very likely to be Speed Graphics or the very similar Crown Graphics.
Mine is from 1962, and is the Super Speed Graphic. This was a lighter, more manoeuverable beast than the previous models. The body was made of a lightweight alloy rather than wood, the focal plane shutter was removed, an electric shutter-release was fitted, and the camera was made smaller overall. Small is relative however. This is still the largest camera I own, and it’s still uncomfortably heavy to shoot handheld. You can shoot it handheld. There is a coupled rangefinder in the top so you can focus fairly precisely on the go. Really though, view cameras like this are best used on a tripod and using the large rear ground glass to focus.
On the business end it has a Graflex Optar 155mm lens with a Copal leaf shutter capable of apertures from f/32 to f/4.5 and shutter speeds from 1/1000 to 1/2s with a B and T setting on top.Changing lenses involves changing out the lensboard for one fitted with a new shutter and lens combination. If you want to keep the rangefinder accurate, you also need to change the rangefinder cam for one that matches the new focal length, and adjust the infinity stops to the new correct position. Like a lot of things about the camera, it’s not fast or easy.
The front standard allows for a wide range of movements. It has tilt and swing, which allows for very precise depth of field control as well as rise for in-camera parallax correction.

Tilt and swing are when you change the angle of the lens relative to the imaging plane (the film or the ground glass) so that the lensboard is no longer parallel with it. Tilt changes the angle vertically, while swing changes it horizontally. This allows you to move the plane of focus around inside your compositon. Normally everything at a given distance from the lens (known as the focal distance) is in focus, and everything closer or further away gets progressively more out of focus. The focal distance is therefore an arc going through your photo. Swing lets you move that arc so that it follows whatever line you want it to rather than just being a set distance. For example you could have it follow a road through the image, or different parts of an animal or person that are at different distances from the camera. Tilt lets you increase the depth of field without simply resorting to smaller apertures. Rise lets you move the lensboard up and down so that you can keep the lens parallel with the front of tall buildings and avoid parallax issues with vertical lines. These days, this last part can be easily fixed in post, but it’s good to have the option to not need to do that. Shift lets you adjust the composition without moving the camera. Tilt and shift together create those landscape photos where everything looks like toys.

There’s a strap on one side and a flash attachment on the other. In the photo of the gentlemen of the press above, you can see that they all have a flashgun attached to their cameras. Those Graflex flash guns are mostly unavailable now unless you want to pay eye-watering prices for one that’s probably had all the wiring removed. Back in 1977, a bunch of guys making a science-fiction movie needed something techy-looking and hilt-shaped with buttons on it to make their laser swords out of. One of the prop makers stumbled across the Graflex flash attachment, and ever since then Star Wars cosplayers and collectors have been steadily decimating the remaining stock of the flashes.
Shooting with this camera is a lesson in being slow and methodical. Knowing that each sheet of film is costing anything from £2-10 a pop certainly helps keep your mind from wandering too far while using it. Discipline and care are needed here. Either that or very deep pockets.

Let’s start at the beginning. Before you even leave the house with the camera, you will need to load some film holders. Each film holder takes two sheets of film – one on each side. The number of film holders that you have, or want to carry with you, creates a hard limit on how many shots you can take per session. Film holders need to be loaded and unloaded in complete darkness, so unless you want to take your darkbag and a lightproof box with you, you aren’t going to be reloading in the field. Film holders are fairly bulky, and take a lot of room in your bag. Usually I take 6 per trip unless I know I’m going to need more. That’s 12 shots, which is also about as much as I want to be spending on film per trip. Loading the holders is relatively simple, the holders are basically double-sided trays with a darkslide on the large flat sides, and a hinged flap on the bottom edge. You pull the darkslide out a little way, which unlocks the hinged flap. This allows you to slide a sheet of film in from the bottom edge underneath the darkslide – there are guides along the long edges to keep it flat and prevent it from just falling out when you remove the darkslide to shoot. The film sheet itself has a pattern of notches on one edge so that you can orient it by feel and make sure that the emulsion side is pointing outwards. Then you close the hinged flap, push the darkslide closed to lock it in place, then turn the holder over and do the same with the other side. The darkslide has a colour coded tab at the top where you pull it out. Usually it’s white or silver on one side, and black on the other. You can use this to differentiate between sheets that haven’t been exposed and ones that have. When you replace the darkslide after shooting, you just flip the darkslide over before putting it back in.

Shooting takes time, and given the cost per shot, requires more than the normal amount of care. Let’s assume that you aren’t using the rangefinder to shoot handheld. You’ll put the camera on a tripod, lock the bed and pull the lensboard forwards on the yoke. There’s a leather bellows keeping everything light-tight between the lens and the ground glass. You then open the aperture – there’s a selector that holds it open for focusing – and the lens will project an image back onto the ground glass. This will be upside down and flipped horizontally, and this will confuse you for a good few minutes when you first take a look. In any kind of ambient light, youll need something over your head to block the light so you can actually see the projected image as it’s pretty faint otherwise, There are bespoke dark cloths that are tailored for the camera model, and which completely cover your head and the back of the camera to look at the glass in proper darkness, but I usually just throw a hoodie over my head and take a squint that way. You focus by moving the front standard with the lensboard on it back and forth with the focusing knobs on the yoke. Once you have focus, you close the aperture, slide your film holder between the ground glass and the camera body (the ground glass is in a spring-loaded frame that grips the film holder in place). Then you double check that you’ve closed the aperture, remove the darkslide from the front of the film holder, double check your shutter speed and aperture settiings, cock the shutter (on mine the shutter is cocked by twisting the lens housing), and then trip the shutter with a cable release. Once you’ve taken the shot, you flip the darsklide around to display the exposed side of the tab, and replace it in the holder.
There is no PC sync port on the shutter, but the camera has a battery powered solenoid circuit that will fire the flash and trip the shutter at the same time. Unfortunately mine is missing part of the battery compartment, and so I need to use the manual trigger on the shutter.
Way way back in the day, when I worked at Games Workshop, I used to use 5×4 and 10×8 cameras in the Design Studio’s photograpy suite. We had racks with mounted Sinar cameras and Manfrotto heads for lighting. We’d set the shot up, focus, meter, and then use a special film holder that took black and white Polaroid film to take a test shot to make sure we’d got everything right before shooting the actual shot on slide film. 8×10″ Polaroids are an absolute trip to use but even in the mid 19990s, it was a very expensive way to test shoot. These days you basically can’t get large format Polaroid film anymore, and so you really have to double check everything, including your metering and your exposure calculations, before you fire the shutter.
Mostly I’m shooting black and white film, because colour negative film is ruinously expensive, and slide film is even more so. Very few places can handle large format film processing these days so I have to develop it at home. I use s Stearman tank which uses less chemistry than a round Paterson or Jobo tank would. I can do 4 sheets at a time in that. Then it goes to my trusty Epson Perfection V850, which will handle 5×4 film sheets just fine.
I really enjoy using this camera, and I wish I could afford to shoot more often with it. Large-format negatives are a joy to work with and large-format slides are particularly lovely. As it is, I take it out for special occasions and times when I think the large-format will add to the process.
Sample Images